

I recently had the opportunity to work with Barnes Precision Machine, Andrew Barnes (Owner) sent me one of the new Ultralite Extreme Rail System to test out and I have to say it is one of the most robust, user friendly, and easy to install rail systems I have worked with.
In this segment, I will describe how the rail is installed and show step by step pictures on how to install it on your own. If you do not know how to disassemble your M4 properly or do not have the proper tools and training to do so, please get with a certified M4 armor and have them install this rail system. If you have a standard hand-guard on your M4, the only piece you will need to get is a low profile gas block. You can find one at Brownells or your trusted supplier of parts and equipment. They run around $40. Once you have taken the flash suppressor, front sight mount, gas tube, delta ring and barrel snap ring off, your ready to get started.
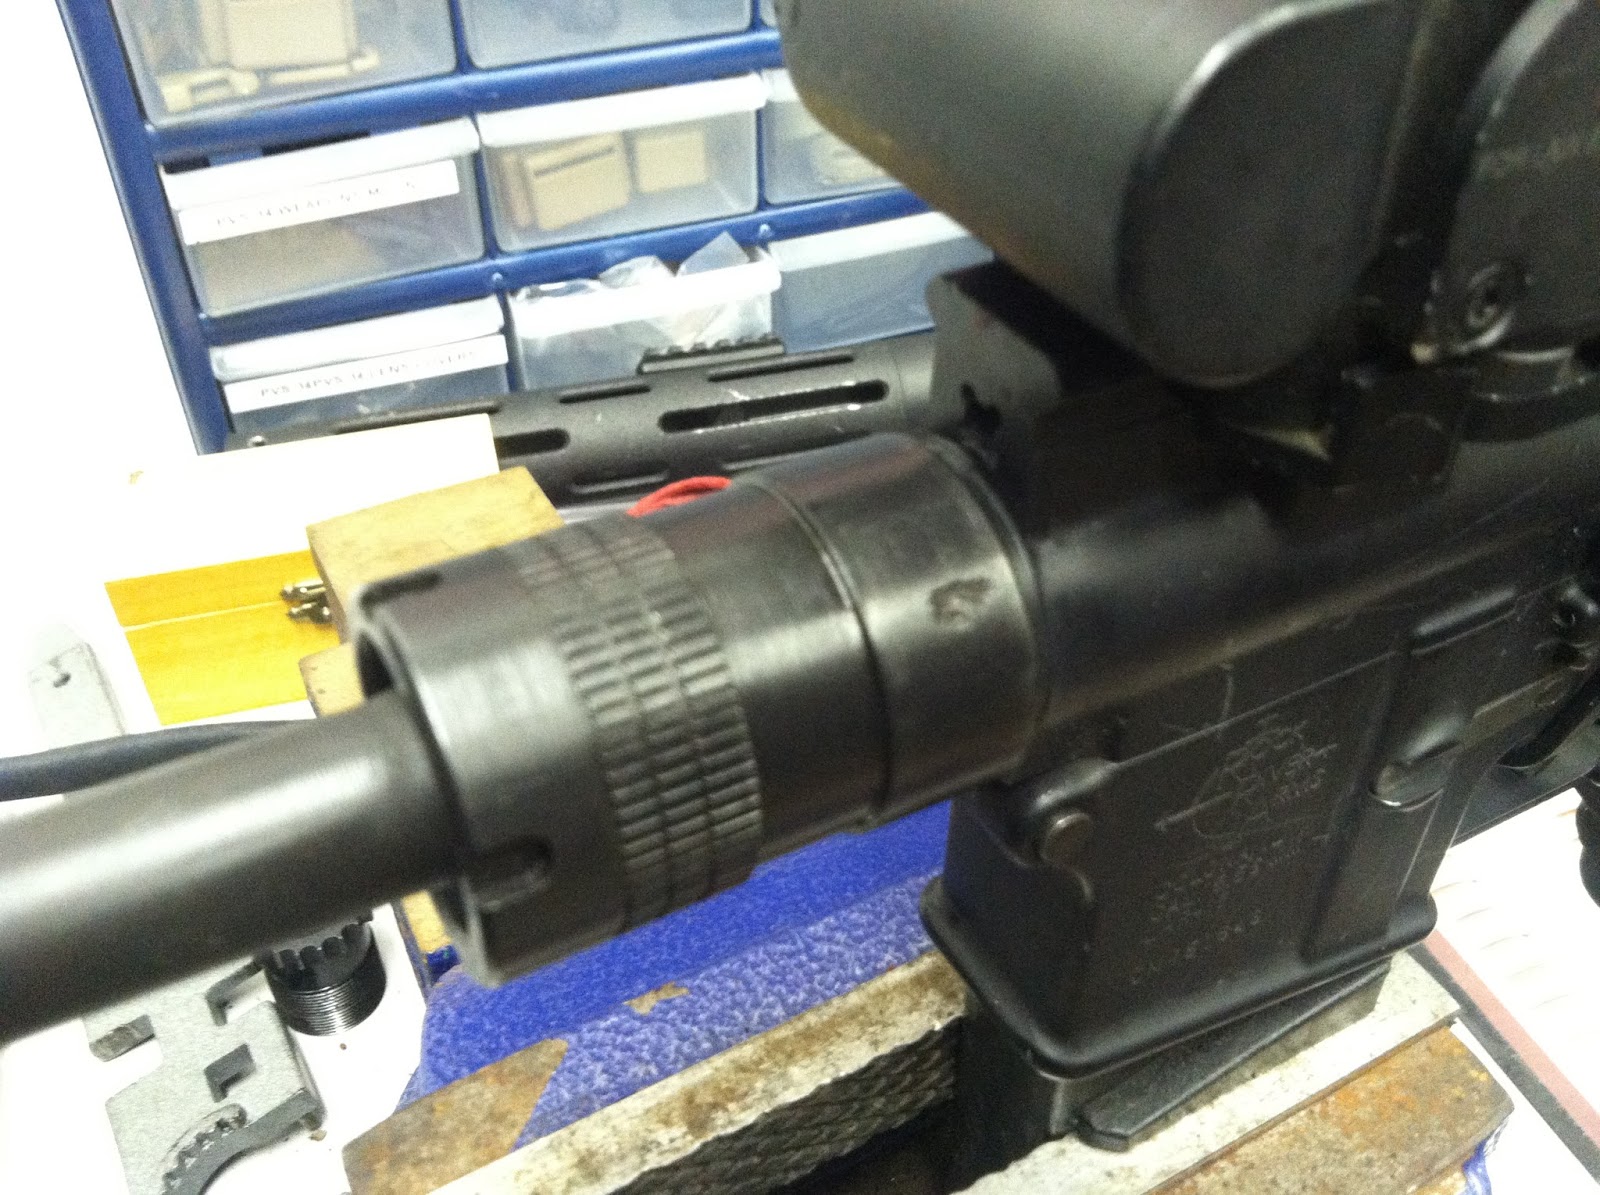
Now before I get into the install, I have to talk about why this handguard. Right off the bat, the biggest difference in the Ultralite Extreme Rail and all the other handguards, is the patented barrel nut. Andrew redesigned the look and function of his barrel nut to meet the needs of the end users. Therefore making the rail more reliability and much more rigid. As you can see (fig.1), he made the piece longer. With the new length, this allows for your toys (ie lasers, lights, sights and for some, smoothie makers) to be more true to zero and accurate at distance. Another bonus to this rail is that it allows you to customize where you place your rails. For me, I just like to have what is absolutely needed on the gun and nothing more. Therefore making it lighter and more versatile. I look for a way to grip the rifle the way I want, have the tools to complete the mission on the gun, and be able to get in/out of shooting positions and barricades with no problems.
As you can see from the pictures below (fig.1 / fig.2) the patented barrel nut goes on very easy. No more gas tube alignment from the old barrel nut to deal with. Simply put the barrel in the upper receiver and slide the new Barnes patented barrel nut on. Tighten down.
Next install your gas block, gas tube, and flash suppressor. Once those items are installed, your ready for the rail system. The rail then simply slides onto the patented barrel nut. Tighten the (2) screws at the bottom of the rail and your good to go !! Well, unless you have to add some toys to your rail.

On the next segment, I plan to put the rail through the ringer. I want to show the strengths and weaknesses so you don't have to worry when your relying on it !!
 |
| Fig 1 |
 |
| Fig 2 |
Next install your gas block, gas tube, and flash suppressor. Once those items are installed, your ready for the rail system. The rail then simply slides onto the patented barrel nut. Tighten the (2) screws at the bottom of the rail and your good to go !! Well, unless you have to add some toys to your rail.

On the next segment, I plan to put the rail through the ringer. I want to show the strengths and weaknesses so you don't have to worry when your relying on it !!
No comments:
Post a Comment